
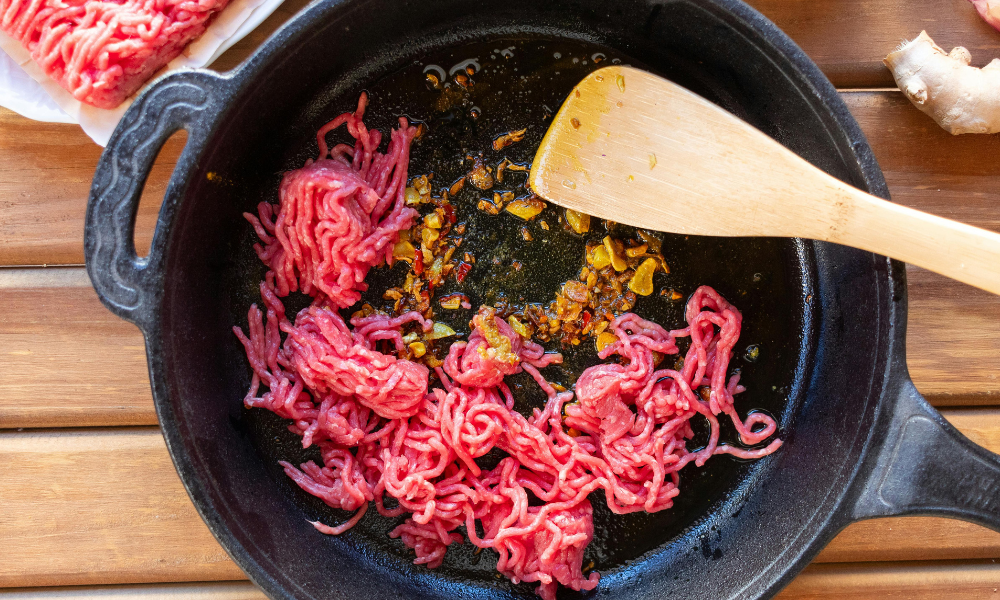
How to Season a Cast Iron Skillet is an essential skill for maintaining the performance and longevity of cast iron cookware. A well-seasoned cast iron skillet is one of the most versatile tools in any kitchen. Proper seasoning creates a naturally non-stick cooking surface, improves food release, and protects the metal from rust. While the process is simple, understanding the right techniques can help you build a durable seasoning layer that improves with every use. By learning season a cast iron skillet correctly, you can enjoy better cooking results and keep your skillet in excellent condition for years.
Understanding Cast Iron Seasoning
Many people assume seasoning means coating a pan with grease, but true cast iron seasoning is much more than that. Seasoning occurs when a thin layer of oil is heated until it undergoes polymerization. During this process, the oil bonds to the iron surface and forms a hard, protective coating.
This layer helps prevent moisture from reaching the metal, reducing the risk of rust. It also creates a smoother cooking surface that becomes increasingly non-stick over time. Unlike temporary oil coatings, properly polymerized seasoning is durable and designed to withstand regular cooking.
Choosing the Best Oils for Polymerization
Selecting the right oil is essential for successful cast iron seasoning. Oils with high smoke points tend to produce stronger and more durable seasoning layers.
Popular choices include:
- Grapeseed oil
- Canola oil
- Flaxseed oil
- Vegetable shortening
- Avocado oil
These oils tolerate high temperatures and bond effectively with the iron surface. Low-smoke-point fats such as butter and some unrefined oils are generally less effective. They can burn before proper polymerization occurs, often resulting in sticky or uneven finishes. Choosing the right oil from the beginning helps create a smoother and longer-lasting seasoning layer.
Deep Cleaning and Preparing the Skillet
Before seasoning, the skillet must be completely clean. Remove any food residue, rust, or old sticky buildup using warm water and a small amount of mild dish soap if necessary. Once cleaned, rinse thoroughly and dry immediately with a towel. Moisture is the enemy of cast iron and can quickly lead to rust formation. For complete drying, place the skillet on the stovetop over low heat for several minutes. This step removes hidden moisture trapped in pores and corners of the cookware. The skillet should be fully dry before oil is applied.
Applying and Buffing the Oil Layer
One of the most important rules of cast iron seasoning is applying only a very thin layer of oil. Add a small amount of oil to the skillet and spread it across every surface, including the interior, exterior, handle, and rim. Then use a clean cloth or paper towel to buff the pan thoroughly. Continue wiping until the skillet appears almost dry. This “micro-thin” coating is ideal for creating a smooth finish. Excess oil often leads to sticky spots, uneven patches, and flaky seasoning. A properly prepared skillet should look lightly polished rather than oily.
The High-Heat Baking Process
Preheat your oven to 450°F–500°F (230°C–260°C). Place a sheet of foil on the lower oven rack to catch any drips. Position the skillet upside down on the upper rack. Baking the skillet upside down prevents excess oil from pooling during the seasoning process. Allow the skillet to bake for about one hour. During this time, the oil will polymerize and bond to the cast iron surface. Some smoke may appear, which is normal during seasoning. After the baking cycle is complete, turn off the oven and allow the skillet to cool gradually inside. Slow cooling helps strengthen the newly formed seasoning layer.
Daily Cooking Habits That Build Stronger Seasoning
Seasoning improves with regular use. Preheat the skillet before cooking and use moderate amounts of cooking fat when preparing meals. During the first few weeks, focus on foods that support seasoning development, such as vegetables, cornbread, pancakes, and meats cooked with oil. Avoid highly acidic foods like tomatoes, wine-based sauces, and citrus-heavy dishes until the seasoning becomes more established. Acidic ingredients can weaken young seasoning layers and slow the development process.
Cleaning and Maintenance Between Uses
Cleaning and Maintenance Between Uses
Proper maintenance keeps cast iron cookware performing at its best. After cooking, clean the skillet using warm water and a soft scrub brush. For stubborn residue, coarse salt can provide gentle scrubbing power without damaging the seasoning. Avoid harsh abrasive cleaners and prolonged soaking.
Regular cleaning works best when combined with proper seasoning practices. If your cookware needs a fresh protective layer, learn how to Season a Cast Iron Skillet to maintain its natural non-stick performance and rust resistance. Once cleaned, dry the skillet completely over low heat. For added protection, apply a tiny drop of oil while the pan is still warm and wipe away the excess. This quick touch-up helps preserve the seasoning and keeps the surface ready for future cooking.
Why does my cast iron skillet feel sticky after seasoning?
A sticky surface is usually a sign that too much oil was left on the skillet before baking or that the seasoning process did not reach a high enough temperature. When excess oil fails to fully harden, it creates a tacky finish instead of a smooth protective layer. To correct the problem, place the skillet upside down in a preheated oven at 450°F–500°F and bake it for about an hour. This helps the remaining oil cure properly and strengthens the seasoning.
Conclusion
Learning how to season a cast iron skillet properly is the key to creating a durable, naturally non-stick cooking surface. By choosing the right oil, applying thin layers, using high-heat baking methods, and maintaining the skillet after each use, you can build a seasoning layer that becomes stronger over time. With consistent care, a cast iron skillet can provide outstanding cooking performance and remain a reliable kitchen companion for generations.