
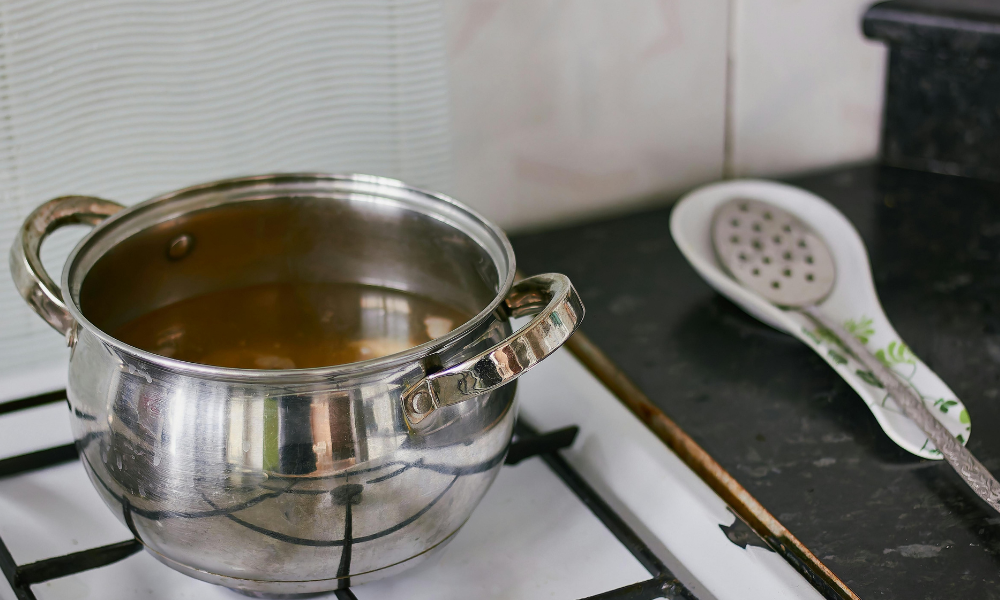
Season Stainless Steel Cookware is known for its durability, excellent heat retention, and professional cooking performance. However, many home cooks struggle with food sticking to the surface. The good news is that properly seasoning stainless steel cookware can significantly improve its cooking performance and create a naturally smoother cooking surface. While stainless steel will never become completely non-stick like a coated pan, a proper seasoning process helps reduce sticking, makes cleanup easier, and enhances the overall cooking experience. Understanding the science behind seasoning and following the correct techniques can help you get the best results from your cookware.
The Science: Why Seasoning Stainless Steel Works
Understanding how to season stainless steel cookware starts with knowing why the process works. Many people associate seasoning with cast iron, but stainless steel can also benefit from it. Stainless steel surfaces contain microscopic imperfections that can cause food to stick. When a thin layer of oil is heated beyond its smoke point, the oil undergoes polymerization and bonds to the metal surface, creating a temporary protective layer. This layer helps improve food release and cooking performance. Unlike cast iron, stainless steel does not absorb oil, so seasoning may need occasional reapplication. The goal is to create a smooth, even cooking surface that reduces sticking and delivers better results.
Pre-Seasoning Preparation: Deep Cleaning and Drying
Before seasoning stainless steel cookware, proper preparation is essential. Any leftover factory coating, grease, food residue, or moisture can interfere with the bonding process and produce uneven results. Start by washing the cookware thoroughly with warm water and mild dish soap. Use a soft sponge to remove any manufacturing residue or oils left from packaging. Rinse carefully to ensure no soap remains on the surface. After washing, dry the cookware completely with a clean towel. Even small amounts of moisture can prevent oil from bonding properly to the metal. For best results, place the pan over low heat for several minutes after towel drying. This extra step removes hidden moisture that may remain on the cooking surface. A completely dry pan is critical for successful seasoning.
Choosing the Right Oil for Polymerization
Not all oils work equally well for seasoning stainless steel cookware. The best oils have high smoke points and can withstand elevated temperatures without breaking down prematurely.
Recommended oils include:
- Avocado oil
- Grapeseed oil
- Canola oil
- Peanut oil
- Sunflower oil
These oils create a more durable seasoning layer because they remain stable at higher temperatures. Low-smoke-point fats such as extra virgin olive oil, butter, and some flavored oils are generally poor choices for seasoning. They tend to burn before proper polymerization occurs, leaving behind sticky residue or uneven patches on the cookware surface. Using a high-quality, neutral oil helps produce a cleaner and more effective seasoning layer.
Step-by-Step Guide: The Stovetop Heat Method
The stovetop method is one of the most popular ways to season stainless steel cookware because it is simple and effective.
Step 1: Heat the Pan
Place the clean, dry pan on the stove over medium heat. Allow it to warm gradually rather than heating it aggressively from the start. Sudden temperature changes can stress the metal and potentially affect performance over time.
Step 2: Perform the Water Drop Test
After several minutes, test the pan’s temperature using a few drops of water. If the water immediately evaporates, the pan is not hot enough. When the temperature is correct, the water forms a small bead that glides smoothly across the surface. This phenomenon is known as the Leiden frost effect and indicates the ideal temperature range for seasoning.
Step 3: Add Oil
Remove the pan briefly from the heat and add approximately one teaspoon of your chosen oil. Use a paper towel or heat-safe cloth to spread the oil into a very thin, even layer across the cooking surface. Avoid excessive oil. Thick layers often create sticky spots instead of a smooth finish.
Step 4: Heat Until Shimmering
Return the pan to medium heat. Watch carefully as the oil begins to shimmer. You may notice faint wisps of smoke. This indicates that polymerization is occurring and the oil is bonding with the metal. Allow this process to continue for one to two minutes.
Step 5: Cool Naturally
Turn off the heat and allow the pan to cool gradually. Rapid cooling under cold water can cause thermal shock and may warp the cookware.
Alternative Technique: The Oven Seasoning Method
The oven method works particularly well for cookware with oven-safe stainless steel handles. Begin by cleaning and drying the cookware thoroughly. Apply a very thin coating of high-smoke-point oil across the entire cooking surface. Preheat the oven to approximately 400°F to 450°F (205°C to 230°C). Place the cookware upside down on the oven rack. Position a baking sheet underneath to catch any excess oil. Bake for about one hour. The heat allows the oil to bond evenly across the metal surface. After baking, turn off the oven and allow the cookware to cool inside gradually. This slow cooling process helps create a more uniform seasoning layer.
Cool-Down and Buffing Procedure
Cooling is an important part of the seasoning process. Allow the cookware to return to room temperature naturally. Once cool, inspect the surface. It should appear smooth and slightly glossy. Use a clean paper towel to buff away any remaining excess oil. Proper buffing helps achieve a polished, glass-like appearance and prevents sticky residue from forming. The finished surface should feel smooth rather than greasy.
Cooking Techniques on Seasoned Stainless Steel
Seasoning alone will not prevent sticking if proper cooking techniques are ignored. Always preheat the cookware before adding food. A cold pan often causes ingredients to bond directly with the metal surface. After preheating, add a small amount of cooking oil and allow it to heat briefly before introducing food. Moderate heat levels generally provide the best results. Excessive heat can damage the seasoning layer and increase the likelihood of food sticking. When cooking proteins such as chicken, fish, or eggs, allow the food time to naturally release from the surface before attempting to flip it. Patience often improves performance more than additional oil.
Essential Maintenance and Daily Cleaning Rules
Proper maintenance extends the life of your seasoning layer and keeps cookware performing at its best. After cooking, allow the pan to cool slightly before cleaning. For light residue, warm water and a soft cloth are often sufficient. Gentle cleaning preserves the seasoned surface while removing food particles. Avoid abrasive steel wool, harsh scrubbers, and aggressive cleaning products whenever possible. These can strip away the polymerized oil layer and reduce non-stick performance. For stubborn food residue, soak the cookware briefly in warm water before cleaning. bRegular gentle care helps maintain a smooth cooking surface.
Troubleshooting Common Seasoning Mistakes
Sticky or Gummy Surface
A sticky texture usually indicates that too much oil was applied or the temperature was too low during seasoning. To fix the issue, wash the pan thoroughly and repeat the seasoning process using a much thinner oil layer.
Uneven Dark Spots
Dark patches may develop if oil accumulates in certain areas. A gentle cleaning followed by a fresh seasoning session can restore a more uniform appearance.
Burned Seasoning Layer
If the surface becomes heavily burned or discolored, scrub it clean with a non-abrasive cleaner and start the seasoning process again from the beginning. Most seasoning problems can be corrected without damaging the cookware.
When and How to Re-Season Your Cookware
Over time, daily cooking and cleaning gradually wear away the seasoning layer. Common signs that re-seasoning is needed include:
- Increased food sticking
- Dull appearance
- Uneven cooking surface
- Loss of smooth texture
Fortunately, re-seasoning is quick and simple.
For routine maintenance, perform a light seasoning session every few weeks, especially if you cook frequently. A quick stovetop seasoning treatment usually restores performance and helps maintain a consistent cooking experience.
Final Thoughts
Learning how to season stainless steel cookware is one of the easiest ways to improve its performance and reduce food sticking. By understanding the science of polymerization, choosing the right oil, and following proper heating techniques, you can create a smoother cooking surface that delivers better results every day. In addition, knowing how to use stainless steel cookware properly can help prevent food from sticking and make cooking more efficient. Combined with correct preheating, gentle cleaning, and occasional maintenance, a well-seasoned stainless steel pan can provide years of reliable cooking performance while maintaining its strength, beauty, and versatility in the kitchen.
How Long Does Seasoning Last on Stainless Steel Cookware?
The seasoning layer on stainless steel cookware is not permanent. Unlike cast iron cookware, stainless steel has a smooth, non-porous surface, which means the polymerized oil layer sits on top of the metal rather than becoming deeply integrated with it. In most cases, seasoning can last through several cooking sessions, depending on how often the pan is used and the types of foods being prepared. Cooking acidic ingredients such as tomatoes, vinegar-based sauces, or citrus can gradually break down the seasoned layer. Frequent washing with dish soap can also reduce its effectiveness over time. If you notice food beginning to stick more than usual or the cooking surface losing its smooth appearance, it is likely time to re-season the pan. Fortunately, the process is quick and requires only a small amount of oil and a few minutes of heating. Regular maintenance helps keep stainless steel cookware performing at its best and improves everyday cooking results.
Conclusion
Learning how to season stainless steel cookware can transform the way you cook. This simple technique creates a temporary non-stick cooking surface without relying on synthetic coatings, allowing you to enjoy the durability and versatility of stainless steel while reducing food sticking. By choosing the right oil, heating the pan correctly, and following proper maintenance practices, you can improve cooking performance and make cleanup easier. Regular seasoning, combined with proper preheating and gentle cleaning, helps maintain a smooth surface that supports better food release.